Learning to tie our shoes as kids is a significant milestone on our way to being independent. Yet, once we’ve learned the basics in our youth, there’s a good chance that we don’t put much thought into how we tie our shoes later on.
Properly tying your shoes is especially important for runners and prevents many unnecessary issues, whether you run indoors or outdoors. However, it turns out there are various techniques for tying shoes that can maximize your foot comfort. Today, we will review different strategies for tying your shoes as a runner.
First Things First
Before we can dive into the importance of tying your shoes correctly for your feet, we first must discuss what basic setup you need. Of course, you need the correct type of shoes for your specific foot shape and running needs.
This all starts with researching or seeking professional guidance from a podiatrist, a shoe specialist (often found at a high-quality shoe store), or a physical therapist. Factors to keep in mind when choosing your shoes include arch height, foot and ankle flexibility, what type of terrain you run on most (outdoors or on a treadmill), and much more.
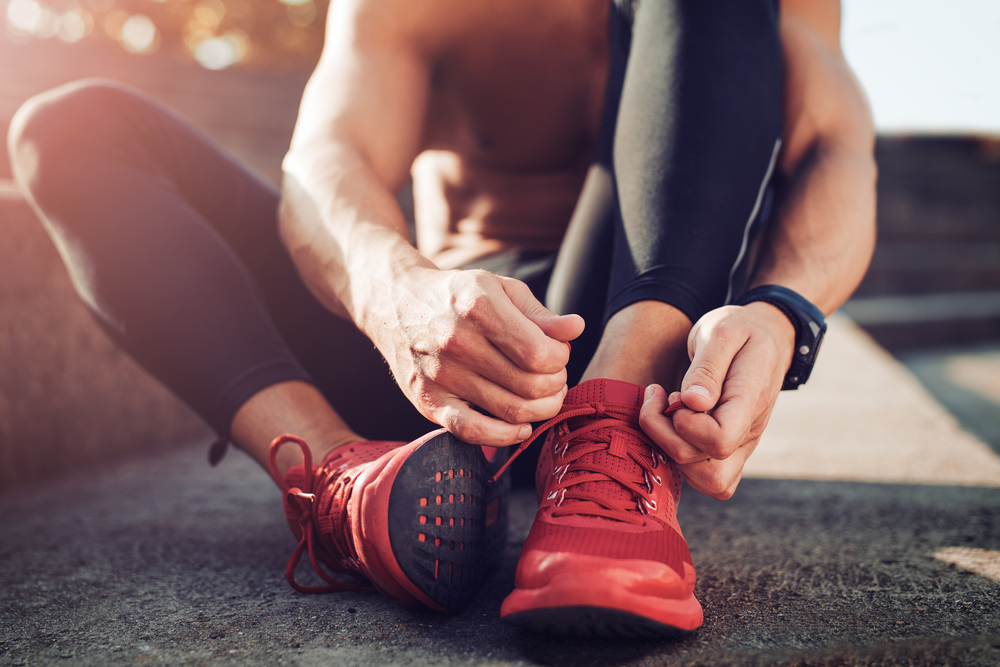
Why It Matters How You Tie Your Shoes
Most tennis shoes come with shoelaces that are already pre-laced and ready to go. However, there are a lot of factors that we can influence with better shoelace tying techniques. Assuming your shoes correctly fit, here are some factors that different shoe tying strategies can help with:
- Bruised, sore, or black toes and toenails
- Chronic blisters
- Painful forefoot or midfoot- creating “hotspots”
- Pressure points
- Other general irritation or discomfort in the feet and toes
5 Ways to Tie Your Shoes
Here are five of the most common recommendations for adjusting your shoelaces based on what your feet need.
-
For heel blisters-
Heel blisters are most often a result of too much slipping off the back of the foot. First, make sure your shoes aren’t too big. Then, try to adjust how you tie the very top of your laces by utilizing the extra-wide eyelet at the top of your shoes. You can loop your lace through both eyelets at the top or simply loop your lace through the wider eyelets only before tying the laces tight. That way, there is less room for loosening and slipping at the top of your laces when you start to run. Ensure you find a balance between tension and slippage since this technique can also cause ankle stiffness if the laces are too tight.
-
For high arches-
Instead of a traditional criss-cross pattern up the shoe, you can choose to “skip” any areas along your foot that need a little extra space. This will usually involve skipping out on crossing one or two eyelets near the top of the shoe for a high arch. For a high arch, traditional shoe lacing can feel restrictive and tight. Thus, instead of crossing the lace, you will bring it straight up to the next eyelet on that side of your shoe.
-
For bunions or a wide forefoot-
For issues like flexible toes or the onset of bunions (where the big toes start to point inward), the same technique applies as we just discussed with high arches. However, this time you will skip the eyelets near the shoe’s bottom rather than up higher. You can play with whether your feet are more comfortable with one or two eyelets skipped.
-
For a wider foot-
If your feet tend to be broader in general, with both a wide forefoot and higher arch- then you may want to try this technique. Since we can’t skip all the eyelets and still get appropriate support from the lace, you will modify the criss-cross method to every other eyelet up the shoes. This provides support while still giving a bit of extra space for your wider feet.
-
For sore toes or black nails-
This is perhaps one of the best techniques for getting rid of those pesky black toenails that many runners often get. Once you’ve ensured your shoes fit correctly, you can try a diagonal shoelace technique. When starting to lace your shoes from the bottom, take one side and bring it diagonally across the entire shoe to the top opposite side. This instantly pulls the roof of the shoe up and gives the toes more room for running and movement. Finish lacing the shoe with the other side of the lace, crisscrossing as you usually would with just one side.
Which Technique is Right for Me?
Techniques for tying your shoes are just one of many options for improving your foot comfort with running. Experiment with these techniques, depending on what your feet need. From there, if that isn’t enough, don’t forget to keep in mind your actual shoe types and what other forms of support, like orthotics, you might need. Overall, the less discomfort you have with running, the more likely you will keep running.


Leave a Reply